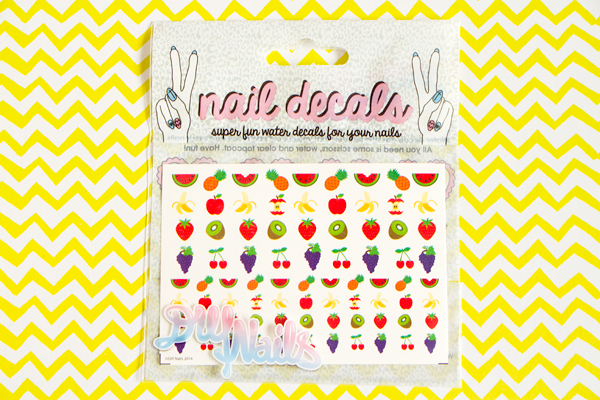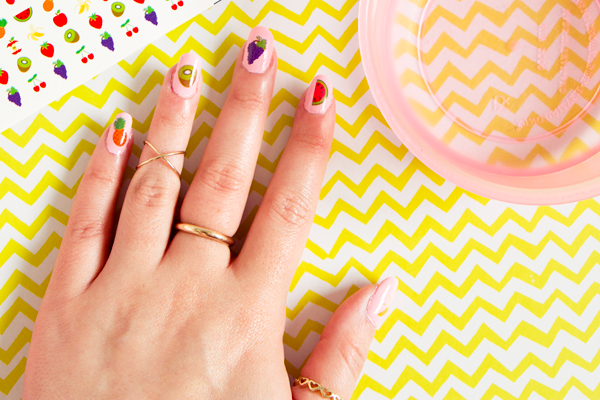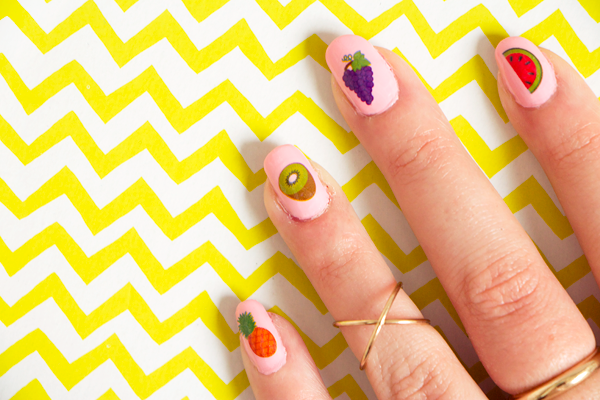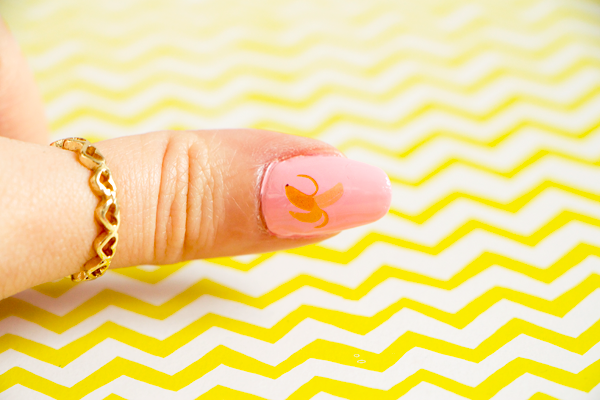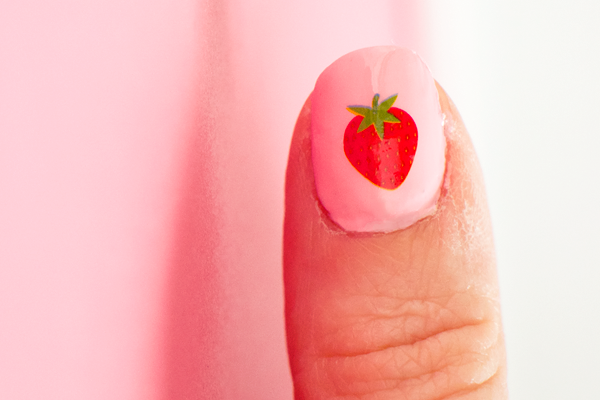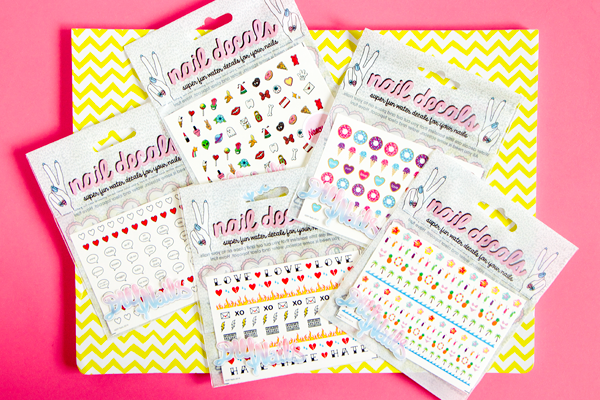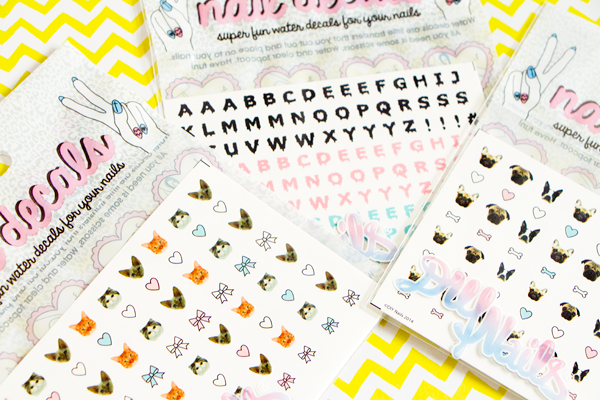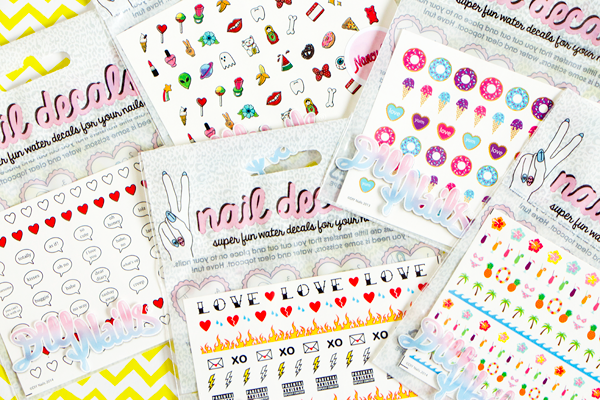



DIY Nails have had a bit of a makeover since I last featured them on here and their range of water-activated nail decals just keeps on getting better & better. As well as their super cute nailcals, they now have some amazing foil designs for ultra-profesh nail art that you can do at home. You can even put them on your skin as temporary tattoos! If you've never tried nail decals before then you're really missing out. Although hand-painted nail art can look stunning, it's really difficult to do it on yourself. I consider just painting my nails with my non-dominant hand to be a struggle so there's no way that I could ever manage any kind of intricate design on them! With these decals you can have something unique & creative on your nails without any of the technical skills.
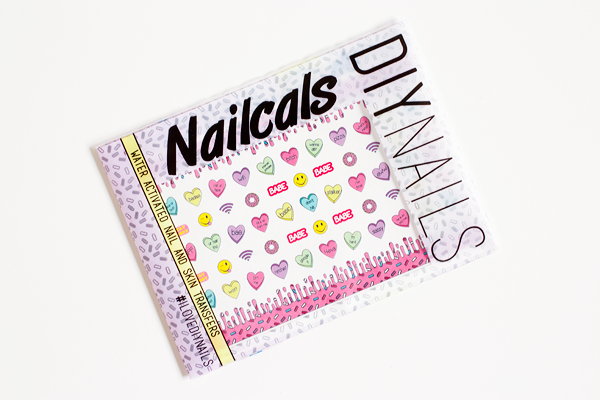
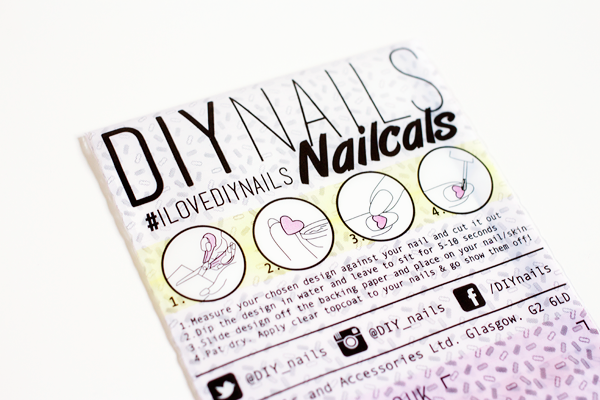
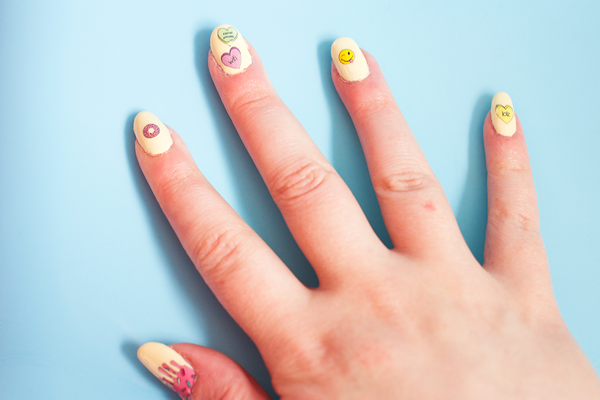
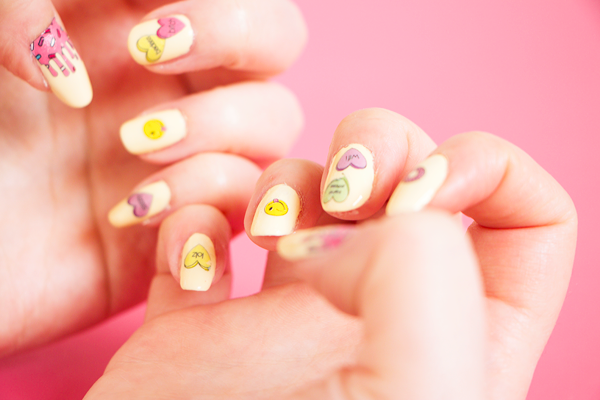
I was recently sent a set of the adorable Candy Nailcals which features a colourful array of tumblr-esque candy hearts, smiley faces, wifi symbols, icing & sprinkles. To complement all the pretty pastel colours, I decided to paint my nails using Model's Own Lemon Meringue. Decals tend to work best with lighter colours of nail polish & I think that this set looks fab against the yellow. Application is incredibly simple. All you need are some scissors, a bowl of water & a clear top coat. After cutting out your chosen designs, pop them in the bowl of water for about 10-20 seconds, then they'll slide off the backing paper & onto your nails. I always place the transfer at the base of my nail as I find it easiest to slide them upwards into position. Gently pat your nail dry with some kitchen roll & apply your clear top coat. The top coat stage is key because it makes the decals look seamless on your nails & seals them into place. Be very careful with the polish brush though because it can sometimes tear the decal if you press down too hard. My green 'internet princess' love heart got a little bit damaged this way!
My favourite design in this pack has to be the dripping pink icing with sprinkles that I have on my thumbs. I was worried that they would be fiddlier to apply than the smaller decals but I actually found them a lot easier to put on. Next time I think I'll do my whole manicure with them. That's one of the best things about these decals - even though I've put loads of them on my nails, I can still get many mores uses out of this one sheet. I've had so many compliments on my nails this week! Everywhere I go I keep getting people asking me for a closer look & marvelling at these amazing little illustrations. Pop over to the DIY Nails website & your nails need never look boring again!
I was recently sent a set of the adorable Candy Nailcals which features a colourful array of tumblr-esque candy hearts, smiley faces, wifi symbols, icing & sprinkles. To complement all the pretty pastel colours, I decided to paint my nails using Model's Own Lemon Meringue. Decals tend to work best with lighter colours of nail polish & I think that this set looks fab against the yellow. Application is incredibly simple. All you need are some scissors, a bowl of water & a clear top coat. After cutting out your chosen designs, pop them in the bowl of water for about 10-20 seconds, then they'll slide off the backing paper & onto your nails. I always place the transfer at the base of my nail as I find it easiest to slide them upwards into position. Gently pat your nail dry with some kitchen roll & apply your clear top coat. The top coat stage is key because it makes the decals look seamless on your nails & seals them into place. Be very careful with the polish brush though because it can sometimes tear the decal if you press down too hard. My green 'internet princess' love heart got a little bit damaged this way!
My favourite design in this pack has to be the dripping pink icing with sprinkles that I have on my thumbs. I was worried that they would be fiddlier to apply than the smaller decals but I actually found them a lot easier to put on. Next time I think I'll do my whole manicure with them. That's one of the best things about these decals - even though I've put loads of them on my nails, I can still get many mores uses out of this one sheet. I've had so many compliments on my nails this week! Everywhere I go I keep getting people asking me for a closer look & marvelling at these amazing little illustrations. Pop over to the DIY Nails website & your nails need never look boring again!

twitter / tumblr / youtube / instagram / bloglovin'